

Simplifying Website Updates for Busy Entrepreneurs with Drag-and-Drop Tools

Running a business can leave very little time for website maintenance. Many entrepreneurs put off updates because they can seem too complex and even time-consuming. But you should know that outdated websites can cost you customers, too.
And so drag-and-drop tools have changed the game for busy business owners. These tools let you update your site without touching a single line of code. This article covers how these builders save time, which platforms work best, and real ways entrepreneurs use them to stay current online.
The Problem
Most business owners can’t spend hours learning code or waiting for a developer. You need to focus on serving customers and growing your company. Website changes often can get pushed to the back burner.
And this creates a tough situation. Your website needs updates to stay fresh and accurate. But you don’t have the technical know-how to make changes yourself. And also hiring someone for every small update can cost too much. Therefore, many entrepreneurs end up with outdated sites that hurt their image and even their ranking, too.
The Solution
Drag-and-drop builders solve this problem with visual editing tools. You literally grab elements on your screen and place them where you want. Need to add a new image? Just drag it from your files. Want to change text? Click and start typing.
These tools can show your changes in real time. And there’s no waiting to see how things look. This makes updates quick and stress-free. You can now add new pages, update products, or even change contact info in minutes instead of hours.
Key Features That Help Entrepreneurs Save Time
Real-Time Editing: Here you can see changes as you make them. And this speeds up the process since you don’t need to preview and go back to fix things.
Pre-Built Templates: You can start with ready-made designs for different industries. This gives you a professional foundation that needs just a few tweaks here and there.
Mobile Responsiveness: Your changes look good on all devices automatically. You don’t need to create separate mobile versions of your site. Take for example, a directory site like RubRankings. A lot of the traffic is coming from local searches like rubrankings chicago on mobile devices. The webmasters would not want to have to create separate versions of the mobile and desktop site.
The importance of visual content cannot be overstated in today’s online environment. Drag-and-drop tools make adding and arranging images, videos, and graphics simple.
E-commerce Support: Add products, change prices, or run sales without technical help. This keeps your online store current.
Top Drag-and-Drop Tools in 2025
Wix offers over 500 templates. It also has an app market for added features. Its editor feels natural even to first-time users. Small business owners can appreciate its all-in-one approach.
Microweber is another platform that provides a free option with powerful features. Its real-time editing can save entrepreneurs precious time, too. The platform makes managing content as easy as using a word processor.
Squarespace also delivers stunning designs that appeal to creative businesses. Its visual editor produces professional results with minimal effort.
To keep things simple and affordable, Weebly is a good choice. Its basic e-commerce features come at lower price points than competitors. This makes it good for businesses just starting online sales.
Elementor for WordPress is a popular WordPress platform. It adds drag-and-drop editing to existing sites in the WordPress platform. And this prevents having to start from scratch.
Use Cases for Entrepreneurs
Restaurant owners can now update menus quickly without even rushing. You don’t have to wait for a web developer to make time-sensitive changes.
A consultant can add new client testimonials as soon as they are received. Fresh social proof can help convert more visitors into leads.
A service business can update pricing or package details in minutes. And this keeps information accurate for customers to make buying decisions.
Long-Term Value
The math makes sense. Paying a developer $100+ for each small update adds up fast. But with drag-and-drop tools, you can make unlimited changes, and that too with a small monthly fee.
It is not just about money because these platforms give you complete control, too. When inspiration strikes at midnight, you can update your site immediately—no emails to developers or waiting for business hours.
These tools can grow with you. You can start with a simple site, and later, you can add features as your business expands. Most platforms offer upgrades for e-commerce, membership areas, or even booking systems when you need them.
Website Design Tips for Non-Designers

Did you ever find yourself scanning a website like you’re speed-reading a menu? And that’s normal. People skim online all day. Your website should be easy to scan as well. You want visitors to land, identify what matters, and move forward quickly. And you don’t need a design degree for that. All you need is a few solid basics.
Here are 5 tips to help you build a professional-looking website. You don’t need to be a design expert.
1. Keep Your Homepage Clean and Uncluttered

Your homepage is like a first handshake. It needs to make a good impression in seconds. Most visitors will decide to stay or leave within 5-10 seconds of landing on your site. There are a few important considerations.
First, your core message should be very clear. Can someone tell what you do or offer at a first glance? If not, then fix that first. All you need is just one main goal for your homepage. If you try to cram five different goals onto one page, this will only confuse people.
Here’s how to cut the clutter:
- Place the main message above the fold
- Leave space between sections so each block feels easy
- Choose 1 or 2 strong visuals instead of text that never ends
And add one clear call-to-action button. Not five buttons. One. Try “Book a Call,” “Join Now,” “Get a Quote,” or “Shop the Collection.” Make it stand out and point it at your main goal.
2. Use Visual Hierarchy So People Know Where to Look
Visual hierarchy is just a guide for the eyes. It tells visitors what to notice first. Then it leads them to the next thing.
You do not need to make this complex. Two easy tricks can help anyone:
First, play with size and weight. Make headlines bigger than normal text. Bold all the important items. Our eyes naturally go to the biggest elements first.
Second, place important items strategically. The top section, the center of the page, and the first content block get the most attention. Put your best content there.
You need to make sure you’re intentionally guiding eyeballs. Use contrast (light vs. dark) and spacing to guide readers through your content. Also, please keep content consistent across your pages so visitors don’t get lost when navigating.
3. Make Your Content Easy to Read

When people say “readability,” they mean this. Can someone quickly scan your page and still understand what you are offering? Most visitors will not read every line. They skim like they’re speed shopping.
Here’s your readability checklist:
- Strong contrast between text and background (dark text on light backgrounds works best)
- Text that’s large enough to read without squinting (16px is a good starting size)
- Simple fonts for paragraphs (save the fancy fonts for headlines)
- No more than 2-3 font types across your whole site
You should also break up your content with clear text “themes” by using consistent styles for headlines, subheadings, and regular text. You need to stick with the same pattern throughout your site. These small changes can make a big difference!
4. Make Navigation Obvious
When it comes to menus and navigation, you need to stick to what works. This is not the place to get creative or experimental. People expect certain patterns while browsing, and you’ll frustrate them if you break even one of those patterns.
And so every site needs these navigation basics:
- Your logo should link back to the homepage (people expect this)
- A simple and visible menu that follows the importance of your pages
- For long pages, you can try adding anchor links or a “back to top” button so people don’t get stuck scrolling
Also, don’t waste your footer! The bottom of your site is also valuable real estate. Here, you can add contact information, key links, social media icons, and a simplified menu.
5. Stay Mobile-Friendly From Day One
Your site also needs to look good on phones from the start and not as an afterthought. Most people will visit your site on mobile devices even before ever seeing it on a computer.
Check these things on every page:
- Can you read the text without zooming?
- Are the buttons big enough to tap with a finger?
- Is there enough space between clickable elements?
- Do images resize properly?
- Is important content visible without endless scrolling?
You should keep your mobile version even cleaner than your desktop site. Also, remove unnecessary elements, simplify your layout, and reduce anything that takes up too much space.
Common Mistakes to Avoid
Even great sites make these errors sometimes:
- Putting unnecessary designs ahead of usability
- Cramming in too much text or too many images
- Using different colors, fonts, and layouts on each page
- Ignoring how the site looks on phones
- Missing or weak call-to-action buttons
- Forgetting basic accessibility needs like good contrast and alt text
- Slow loading pages because the images are too big
Building an Author Website: What to Include

Every author needs a home on the internet, even if you’re still working on your first book. An author website acts as your digital business card, book store, and connection hub for readers.
Author websites can give you complete control over how you present yourself and also your books. In this article, let’s break down exactly what to include and also when to build an author website.
Start with a Clear Purpose
First, you need to decide what you want your website to do. And then only you should pick colors or themes. Your goals shape everything from layout to which features you need. A cookbook author might need recipe pages, but a mystery writer might want character profiles instead. Plan your content before choosing a platform or theme.
Must-Have Pages on Your Author Website
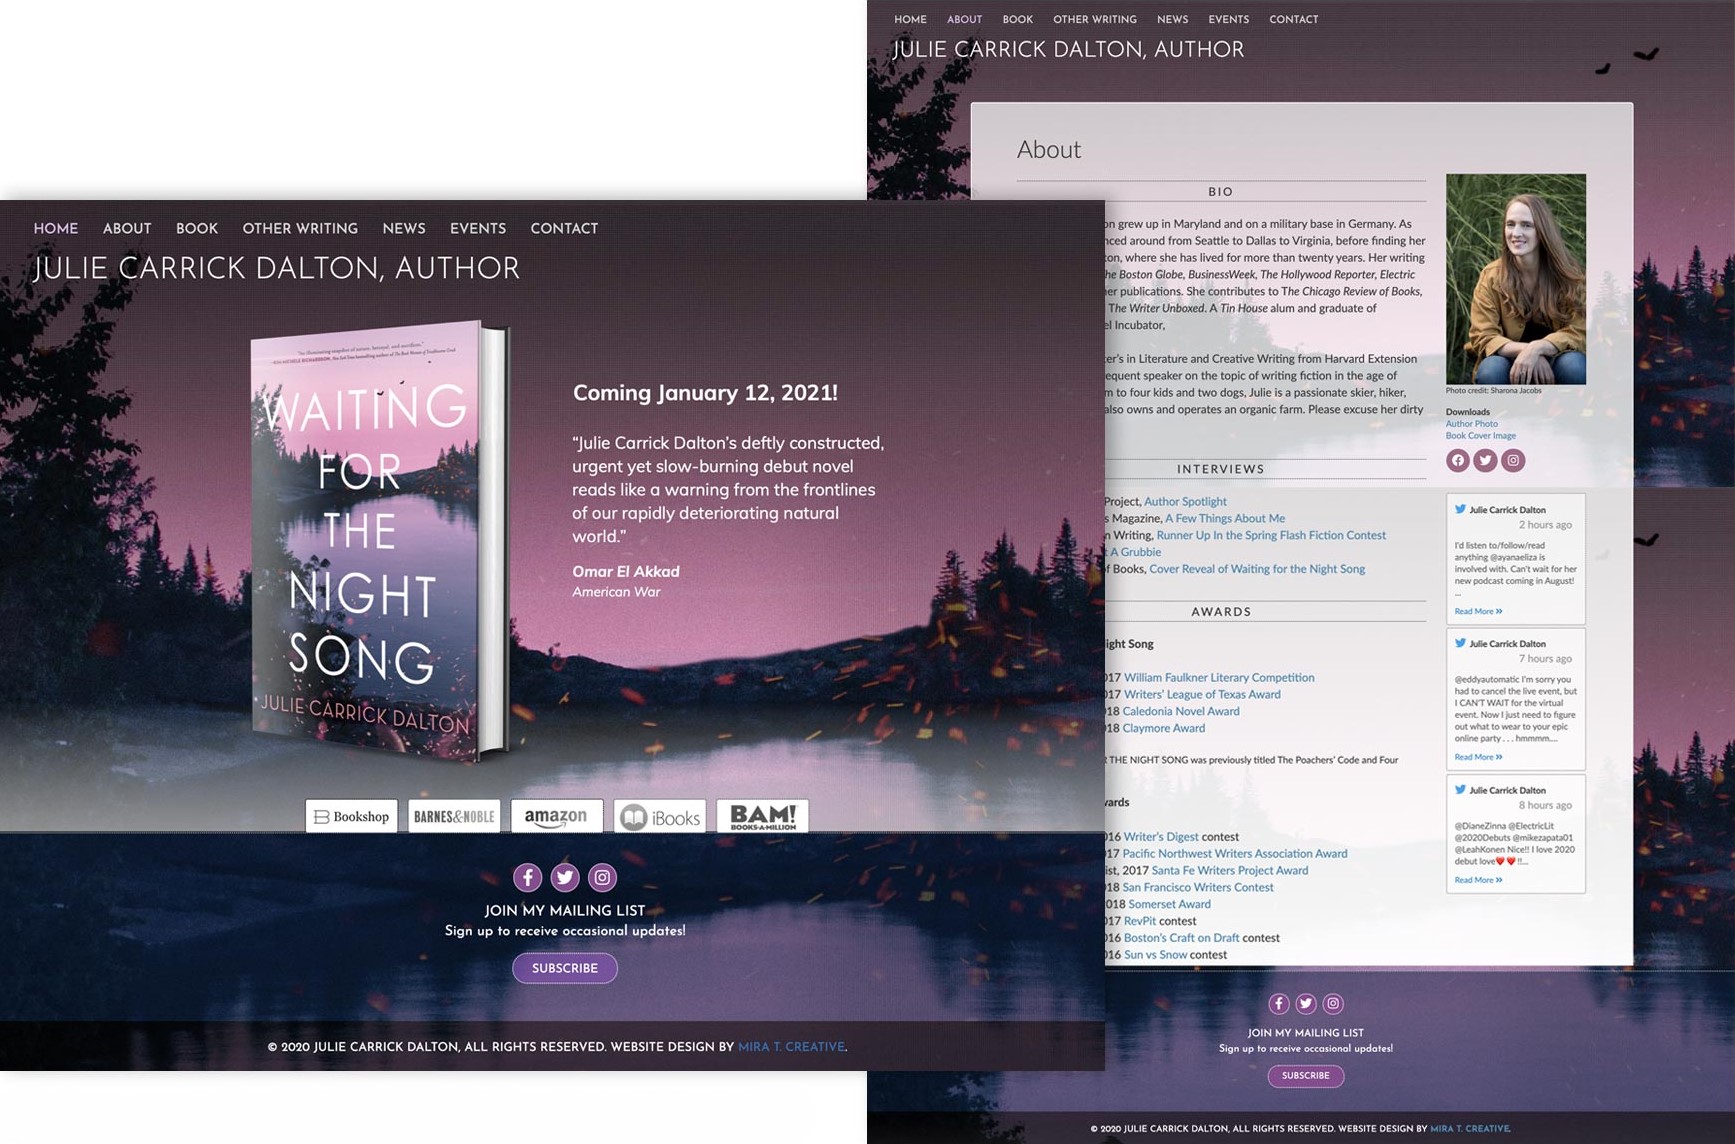
About Page
Create both a short and a long author bio. The short version grabs attention quickly, and the long one tells your complete story. Add a good photo. A professional is nice but not required. You can share your writing journey, awards, and also what makes you unique as an author.
Books Page
Each book deserves its dedicated page. And this makes it easier for readers to find information and also for search engines to discover your books.
You can include your book cover (low resolution for fast loading), a brief description, and a longer description. You can also add buy buttons linking to Amazon, Barnes & Noble, Bookshop, and other stores. Also, don’t forget to include any praise or reviews, and consider adding a sample chapter.
Contact Page
Make it easy for readers, journalists, and event planners to reach you. You can use a simple contact form that hides your email address from spammers. You should not ask for too much information. Name and email are usually enough. But if you have an agent or publicist, you can add their contact details too.
Media/Press Kit
This helps journalists and bloggers write about you by providing downloadable materials. Include high-resolution book covers and author photos. You can also add your bio, book descriptions, and any notable reviews or awards.
Homepage Elements That Matter

Your homepage makes a first impression. Put your name, what type of books you write, and your newest book front and center. You also need to make sure that your design connects to your genre. For example, romance authors need a different look than horror writers.
You also need to create a clear navigation menu so that it can help visitors find what they need in one or two clicks. Add a newsletter signup form with a good reason to subscribe, like “Get free short stories and new book announcements.”
Include links only to social media accounts you actually use. Nobody likes clicking a Twitter link to find that your last post was three years ago!
Blogging
A blog can bring traffic to your site and help readers get to know you. Write about topics related to your books, share your writing process, or discuss themes in your work.
Posting should be consistent and regular. Once a week or every two weeks is enough. Make sure you keep the posts interesting and relevant to your audience.
Technical Tips for Long-Term Success
You can build the author’s website on a trusted platform like WordPress or Squarespace. Make sure your site looks good on phones because that’s how most people will see it. Choose a fast-loading theme that fits your genre.
Also, avoid adding too many plugins or features that slow down your site. You should also connect to Google Analytics to see who visits your pages. You can start with basic hosting, but be ready to upgrade as your audience grows.
How Educators Can Share Knowledge Through Blogging

Teaching has changed a lot in our digital age. Educators these days can now share ideas across the globe with just a few clicks. Blogging stands out as an easy-to-use tool that can help teachers connect with students and also fellow educators.
This post will explore how teachers can use blogs to share their knowledge, get students excited about learning, and grow as professionals.
Educational Power of Blogging
Blogs give teachers a platform that can work with today’s learning needs. They can also offer flexibility. Students can also read and respond at their convenience. Blogs can also help teachers explain complex ideas in so many simple ways.
Anyone with internet access can also join the conversation. It’s not like old-school teaching where teachers talk and students listen. Here, blogs put learning in students’ hands. They get to ask questions and also learn at their own pace.
Boosting Student Engagement Through Blogs

Students try harder when they know that their writing will be seen by real people and not just their teacher. And so they work harder and also think more deeply.
Many teachers also find that blogging can get even quiet students talking. Some classroom blogs ask students to reflect on what they learned that week. Others have students give feedback on each other’s work—many showcase student projects through photos and videos. And the best part is that the students feel proud when they see their work published online.
Building a Personal Learning Network (PLN)
A Personal Learning Network can connect you with other educators and experts who share your interests. And so your blog becomes the hub for these connections. You attract other teachers facing similar challenges by writing about your classroom experiences.
Comments on your posts can also lead to meaningful discussions. Soon, you’re exchanging ideas with teachers from across town or the world! Also, learning doesn’t stop when school ends because, through blogging, it can continue 24/7.
Professional Development
Blogging makes you think about your teaching in new ways. Each post becomes a chance to examine what worked in your classroom and what didn’t. Many teachers say writing about their lessons helps them spot patterns they missed before. Your blog creates a record of your growth as a teacher. As you share successes and challenges, other educators benefit from your experiences.
Collaborative Learning Community
Blogs can turn education into a conversation rather than just a lecture. Students feel heard when they can comment on class topics. Teachers can also set up group blogs where students take turns posting about class projects. And this builds a sense of team spirit.
Blogs can also teach important digital citizenship skills. Students can learn to give helpful feedback and respect different opinions. They take ownership of their ideas in ways that traditional assignments rarely allow.
Tips for Effective Educational Blogging
If you’re wondering how to start a teacher blog, you can begin by getting clear on your goals. Are you writing for students, parents, or other teachers? Use plain language that anyone can understand.
You can also add photos, videos, or audio clips to make your posts more interesting. Set a regular schedule. Once a week to start. And always end posts with questions that invite readers to comment. You can also team up with other teachers to share the workload.
Platforms like Edublogs offer helpful guides and supportive communities. Beginners can use its platform and learn how to start a teacher blog.
Build a One-Page Website in Under an Hour

Can you really build a website in under an hour? That is a big question! Many new developers and beginners will doubt this claim. But the truth is that it is very possible because there are lots of tools available these days to make it happen. Creating these is only for simple and focused websites.
By creating these types of websites, you will not become the next Facebook or Amazon. You can only make a basic site that serves a single purpose.
In this article, you’ll learn which tools can help you build a website in minutes, how to follow a step-by-step process, and when this approach makes sense for your needs.
What Counts as a One-Page Website?
A one-page website contains all the content on a single scrolling page. It has sections like About, Services, and Contact that visitors access by scrolling down rather than clicking to new pages. Good examples include personal portfolios, event pages, or local business sites.
These sites work well for presenting basic information in a clean format. They don’t include user accounts, shopping carts, or complex databases. Think of them as digital business cards or brochures rather than full applications. They serve a specific purpose without extra features that take time to create.
Tools That Make It Possible
Several platforms let almost anyone build a website in minutes without coding knowledge:
Website builders:
- WordPress.com offers pre-made themes with easy editing options
- Squarespace provides beautiful templates for beginners
- Carrd.co specializes in quick and attractive one-page sites
For those who know some code:
- Bootstrap templates can speed up development with ready-made components
- Next.js starter kits can help create fast-loading pages with good SEO
Many professional developers use these same tools to save time. They reuse these templates and components to make their work easier. You don’t have to start everything from scratch.
Building a Website in Under an Hour
Step 1: Decide Your Goal (5 minutes)
First, you need to decide why you are creating this website. You should pick one clear purpose. Is it for showcasing your work, promoting an event, or sharing contact details for your business? A single goal is important because it will keep your project focused and achievable.
Step 2: Pick Your Tool (5 minutes)
Next, you need to choose the right platform. Choosing should be based on your skills. Complete beginners should try Carrd or Squarespace. Those with basic HTML knowledge can try WordPress. If you are a developer, you can also use code-based solutions for more control.
Step 3: Choose a Template (10 minutes)
You can also browse for templates that match your goal. Don’t waste time looking at every possible option. Pick something close to what you need and move forward. You can always change it later.
Step 4: Customize Content (25 minutes)
This part takes the most time. Add your text, replace sample images, and fill in contact details. Focus on quality content rather than perfect design at this stage.
Step 5: Tweak Design (10 minutes)
Here you can adjust colors to match your brand. You can also change fonts if needed. Also, make sure everything looks good on mobile phones, too. Please keep it simple because trying to make everything perfect will simply eat up your hour quickly.
Step 6: Publish (5 minutes)
Connect to a domain name if you have one or use the free address provided by your platform. Click publish, and your site goes live!
Pros and Cons Of a One-Hour Website
Quick websites work great for:
- Testing new business ideas before investing more money
- Creating an online presence for local businesses
- Setting up event pages that only need to exist for a short time
- Personal portfolios for job hunting
They’re not good for:
- Online stores with many products
- Sites needing user accounts and logins
- Projects requiring custom databases or applications
- Businesses planning major growth
Speed vs. Quality
Building fast comes with trade-offs. Templates and builders make it possible to create something basic quickly, but customization takes more time. The real work often starts after launch, like maintaining, updating, and improving your site.
Professional developers bring value through security knowledge, performance optimization, and custom features that template sites can’t offer. They’re worth hiring when your needs go beyond the basics.
Remember that many successful businesses started with simple websites. You don’t need everything perfect from day one. The most important step is getting started, and now you know you can build a website in minutes rather than weeks.
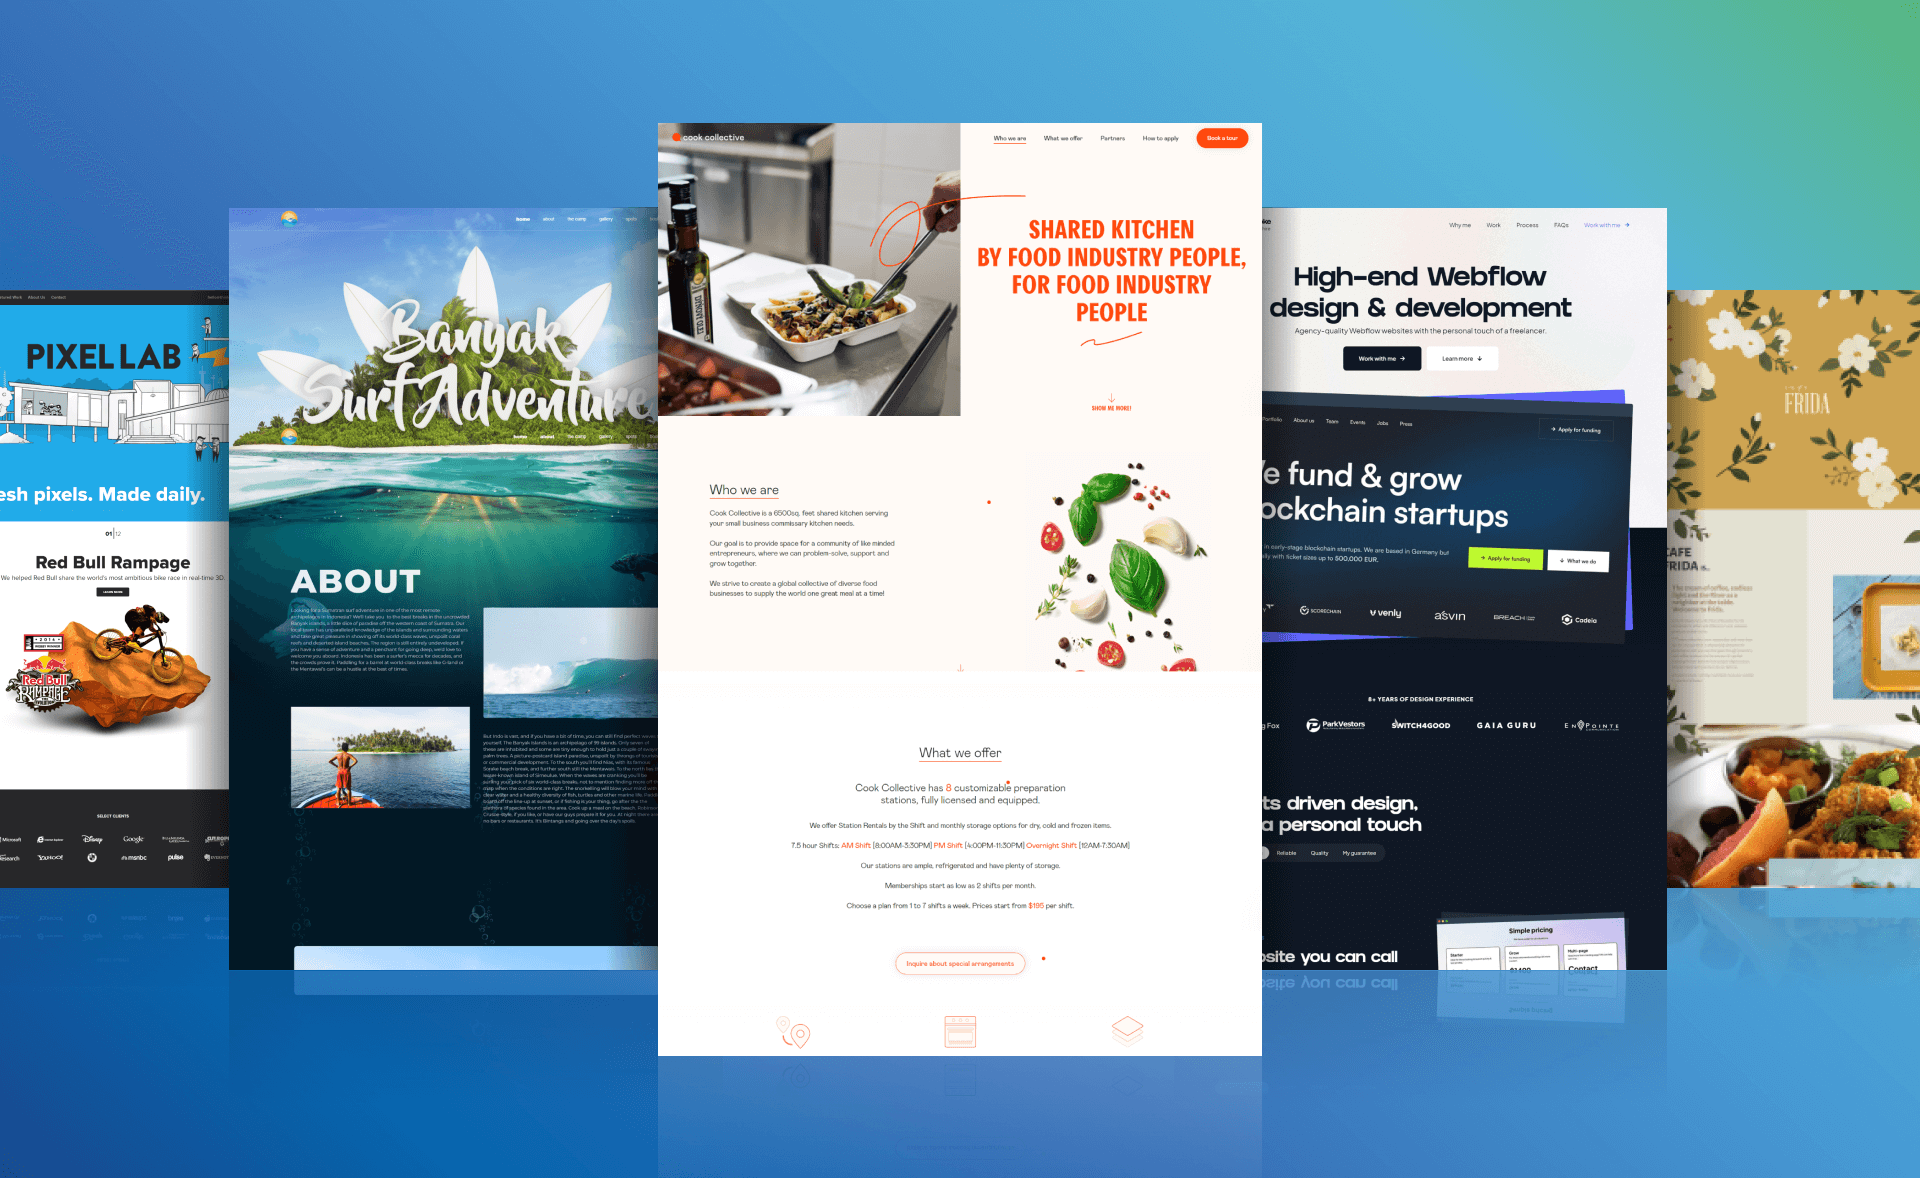
How Drag-and-Drop Website Builders Are Changing the Game

Drag-and-drop website builders have changed the world of web design in recent years. Now, anyone, including small businesses, can make beautiful websites without needing to know how to code or hire costly developers. Because the number of these tools is rapidly increasing, they clearly affect how digital work is done, how efficient it is and how creative it can be.
Breaking Down Barriers: Accessibility for All
A major way drag-and-drop builders are transforming things is by allowing everyone to design websites. You don’t need technical skills to create a website these days. A user can just drag text, images and buttons onto a page using the visual interface and notice the changes right away. Because it’s so easy to use, entrepreneurs, small business owners, bloggers and creatives can build an online platform quickly and on a budget, without needing special training in web development or IT support.
Speed and Efficiency in Website Creation
Traditional web development takes a lot of time and money and usually means a lot of exchanges between clients and developers. In comparison, drag-and-drop builders help you work smarter. Customers can make a website that works on all devices in just hours, thanks to the available templates and custom options. With such speed, online startups, small businesses and large companies can get online or update their websites quickly.
Creative Freedom and Customization
Nowadays, website builders give users many templates and design elements to make their sites look just like their brand. Even design beginners can use a few clicks to customize colors, fonts, layouts and multimedia for a visually attractive website. Because design is so flexible, it helps websites and apps shine in a crowded online world.
Built-In Performance and Maintenance

In addition to design, today’s website builders take care of a lot of the technical aspects. Often, mobile optimization, SEO features, cloud hosting and security updates are already included in the platform, so websites do well and stay secure without the user having to do much extra work. With everything combined, users no longer have to manage many different systems and can concentrate on improving their site.
The Future: AI, Personalization, and Integration
As time goes on, drag-and-drop builders are using artificial intelligence to improve how designs are made and how users interact with them. Features that use artificial intelligence can advise on layouts, generate site content and personalize pages using how users behave, helping web design become more accessible and useful. More and more, these builders are linking with e-commerce, analytics and marketing tools to become full-service digital platforms.
Considerations and Limitations
Drag-and-drop builders have a number of positives, but they also have some negatives. These platforms can be less customizable for complex or large projects and as users’ needs increase, they may find it hard to scale or change platforms. If a site’s code is overloaded, it may run slowly and some of the best SEO or development tools might not be available on themes.
Conclusion
With drag-and-drop builders, website design is simpler, faster and more creative. Because they are improving with AI and integration, these tools will continue to play a key role in digital strategy for everyone. Most people find that the positives of drag-and-drop builders are much greater than the negatives, making them very useful for creating a great online presence.